
There’s nothing quite like the taste of homemade chocolate fudge. This Perfect Old-Fashioned Chocolate Fudge recipe brings back nostalgic memories of holiday gatherings and cozy family moments. With a rich chocolate flavor and a smooth texture, it’s a dessert that everyone loves. Whether you are making it for a special occasion or just to satisfy a sweet craving, this fudge is sure to impress!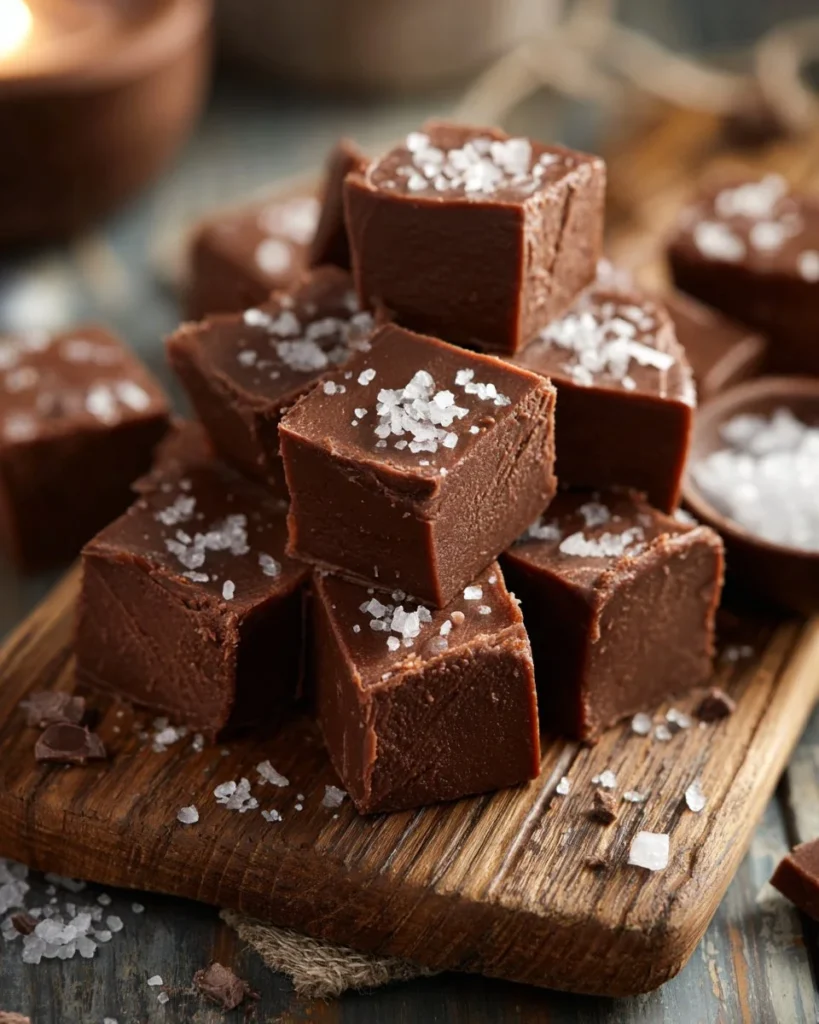
Ingredients Overview
To make this delightful chocolate fudge, you only need a few simple ingredients. They include granulated sugar for sweetness, unsweetened cocoa powder for rich chocolate flavor, whole milk to create a creamy texture, and unsalted butter to add richness. Vanilla extract enhances the flavor, while salt helps to balance the sweetness. Additionally, semi-sweet chocolate chips can be added for an extra chocolatey kick.
Why Make This Recipe
This Perfect Old-Fashioned Chocolate Fudge is easy to make and doesn’t require any fancy ingredients or special equipment. It is perfect for beginners who want to try their hand at making candy. Plus, it’s a great treat to share with family and friends. The homemade touch definitely adds to its charm, making it a thoughtful gift or a delicious way to show someone you care.
How to Make Perfect Old-Fashioned Chocolate Fudge
Making chocolate fudge is straightforward. Follow these steps to whip up a batch of this delicious treat:
- In a medium saucepan, combine the sugar, cocoa powder, and salt.
- Add the milk and butter, then stir to combine.
- Bring the mixture to a boil over medium heat, stirring continuously.
- Once boiling, reduce the heat and allow to simmer for about 5 minutes without stirring.
- Remove from heat and stir in the vanilla extract and chocolate chips (if using).
- Pour the fudge into a greased or parchment-lined pan and let it cool completely before cutting into squares.
How to Serve Perfect Old-Fashioned Chocolate Fudge
This fudge can be served as is or cut into lovely squares for a nice presentation. It pairs well with a glass of milk or a hot cup of coffee. You can also serve it at parties, in lunch boxes, or as a special after-dinner treat. Enjoy sharing this sweet delight with everyone!
How to Store Perfect Old-Fashioned Chocolate Fudge
To keep your fudge fresh, store it in an airtight container at room temperature for up to one week. If you want to keep it longer, you can refrigerate it for up to three weeks. Just make sure to let it come to room temperature before serving for the best taste and texture.
Tips to Make Perfect Old-Fashioned Chocolate Fudge
- Make sure to continuously stir when the mixture is first heating to avoid burning.
- Use a candy thermometer if you want to be precise; the mixture should reach about 234°F (soft-ball stage).
- Experiment with adding nuts or marshmallows for a fun twist.
Variation
For a different flavor, you can add a pinch of espresso powder to intensify the chocolate taste or use flavored extracts like almond or peppermint instead of vanilla. You might also try white chocolate chips for a creamy contrast!
FAQs
1. Can I use dark chocolate instead of semi-sweet chocolate chips?
Yes! Dark chocolate will give your fudge a richer flavor.
2. What can I do if my fudge doesn’t set?
If your fudge is too soft, it may need more cooking time. You can return it to the heat and gently cook it for a bit longer.
3. Can I freeze chocolate fudge?
Absolutely! Wrap the fudge tightly in plastic wrap and place it in an airtight container before freezing. It can be stored for up to three months.
Enjoy making your Perfect Old-Fashioned Chocolate Fudge and sharing it with those you love!

Perfect Old-Fashioned Chocolate Fudge
Ingredients
Method
- In a medium saucepan, combine the sugar, cocoa powder, and salt.
- Add the milk and butter, then stir to combine.
- Bring the mixture to a boil over medium heat, stirring continuously.
- Once boiling, reduce the heat and allow to simmer for about 5 minutes without stirring.
- Remove from heat and stir in the vanilla extract and chocolate chips (if using).
- Pour the fudge into a greased or parchment-lined pan and let it cool completely before cutting into squares.